Who doesn't love a good pizza, especially when you make it from scratch and cook it in your own wood-fired pizza oven?
Read on to find out how to make the Best Pizza Dough Recipe!

This post may contain affiliate links. As an Amazon Associate, I earn a small commission from qualifying purchases at no extra cost to you.
I've wanted an outdoor pizza oven like, since forever!
But I've always believed we hadn't got enough room in our garden as it's really quite tiny so I put the thought out of my brain.
Outdoor pizza oven
We were strolling around the Caravan and Camping Show at the NEC Birmingham (as you do) and came across the lovely people from The Pizza Oven Shop had a range of wood-fired ovens here in the UK.
When I spotted the Igneus Minimo Wood-fired Pizza Oven, I knew we could make room for it, so naturally, I had to buy one! Most were far too big for our tiny garden, but the Minimo seemed just right.
This may well be small as far as wood-fired ovens go, but it still enables you to cook lasagne or a whole chicken or steak, etc without any problems you just need to pick a suitable dish
The non-stick coating is not suitable due to the extremely high cooking temperature (around 500°C) and therefore obviously plastic or glass are definite no-nos.
Igneus Minimo is only available in black, which is no problem for me as I would only want it in black but the larger Igneus models are available in other colours.
Check out the best selling pizza ovens.
Wood-fired pizza oven
Everyone who sees it wants one themselves!
Yep looks-wise this is totally drool-worthy. I really love the matt black and steel exterior, and it's sturdy and very well made.
The firebrick
The fire brick, or refractory brick, inside is removable and can be turned before cooking if desired. It’s important to keep it clean by brushing away ash once the oven is completely cool, but never let the stone get wet, as it will hold moisture and crack the next time you use it. With a good brush after each use, it will last for years.
With that in mind, it’s worth noting that if you ever need a replacement firebrick, you can contact The Pizza Oven Shop.
At the time of writing, they can send you one, though I’m not sure of the cost. The Minimo, handmade in Portugal, cooks pizza to perfection with no practice required. My photo of a Margherita pizza was from my second attempt, but the first one just minutes earlier was equally good—though I wasn’t confident using the oven yet, so I didn’t get a great shot.
And then these photos were also rushed because we just wanted to eat PIZZA! 😋
You can cook a variety of foods besides pizza, such as steak, chicken, vegetables, burgers, lasagna, or even bread. It can handle a 12-inch pizza or a square dish of the same size.
Pizza peel and embers rake
The oven comes with its own pizza peel for introducing and removing the pizza to the oven, and embers rake.
A sturdy carry bag is available to buy but was included with mine as a Caravan and Camping Show offer along with a cast iron pan and a sizzling pan.
No tools needed to assemble this pizza oven!
Simply set the oven wherever you like, attach the chimney, and place the firebrick inside—done! Weighing only 15kg, it’s portable enough to store in the garage or garden shed after use, and compact enough to fit even in the smallest garden.
My pizza oven is sat on this Keter BBQ Outdoor table with storage; however, we got ours at the Billy bargain price from Argos when they were selling them as a clearance item.
Okay, I had to drive miles to get one though as they'd sold out in almost every store but hey ho it was still a bargain!
How to use a wood-fired pizza oven
Always opt for natural, untreated firewood and avoid using treated wood like old fence posts. The Pizza Oven Shop suggests using silver birch and steering clear of accelerants such as petrol, paraffin, or anything similar to start the fire.
Small pieces of kiln-dried kindling and natural firelighters work best. The natural firelighters I used looked like compacted cardboard, though I’m sure they’re made from something far more impressive.
But since then I've tried Twizzlers firelighters and found them far better; both are available at Sainsbury's.
It was my first attempt at starting a fire, and it ended up burning from the top, which isn’t the proper method. Still, everything turned out fine, and before long we were well on our way to making the perfect pizza.

Gloves - you need gloves as these pizza ovens are not to be messed with, as they are extremely HOT at around 500°C so you will need a pair of heat-resistant gloves.

My once feeble-looking fire actually got going after about 15-20 minutes it was ready to cook PIZZA!
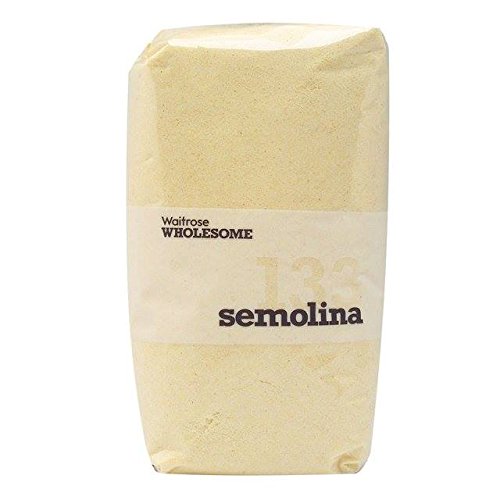
Semolina is the very thing you need to lightly sprinkle over the base of the pizza peel to prevent your pizza from sticking.
Flour isn't so good as it tends to burn on the bottom of the dough when cooking. 😰

Into the hot pizza oven and turn after 30 seconds.
You'll find your pizza is cooked in just 90 to 120 seconds!!

Trust me, a Wood-fired Pizza Oven is the way to go, as regular ovens just don't get anywhere near as hot so they just can't compete with wood-fired.
If a wood-fired oven isn't for you, you could consider a wood pellet grill or oven.
Have you tried this recipe? Please leave a ⭐️⭐️⭐️⭐️⭐️ star rating in the recipe card below!

Margherita Pizza Recipe
Ingredients
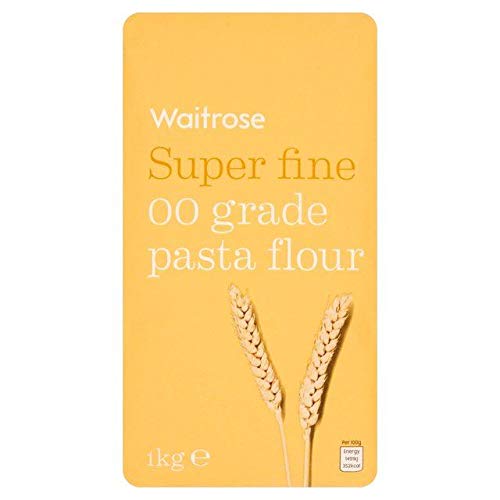
- 500g super fine OO grade pasta/pizza flour
- 1 teaspoon salt
- 1 teaspoon caster sugar
- 7g sachet of easy-bake yeast (the one that's used for bread machines)
- 1 tablespoon olive oil
- 325ml warm water
- Plus semolina for proving the dough on to stop it from sticking - DO NOT add this to the pizza dough mix!
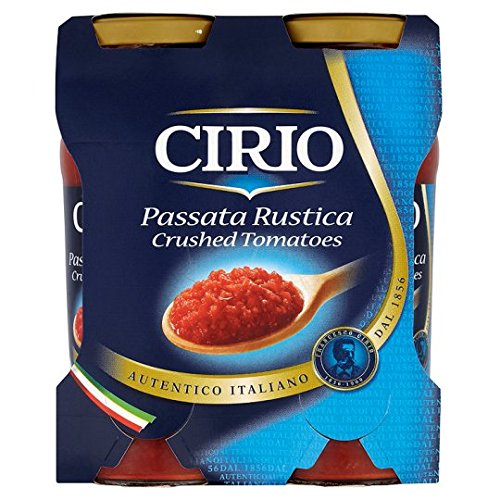
- 1 x 350g jar passata - I used the Cirio brand
- a good-sized pinch of dried Italian seasoning
- a pinch of sugar
- mozzarella well-drained and torn into pieces
- fresh basil leaves only
- freshly grated parmesan Cheese
- olive oil for drizzling
Instructions
- In a large bowl mix the salt with the flour, add the yeast and mix.
- Knead by hand or pop the lot into a stand mixer as I did until you have a nice soft dough add a tiny bit more water if you need to.
- Pull and fold the dough a few times by hand and you'll end up with a lovely springy soft dough. Divide into 4 equal-sized pieces and roll into balls.
- Roll each one in a little flour and pop them well-spaced apart onto a large baking sheet sprinkled with a little semolina.
- Cover with a damp cloth and leave to prove for 2 hours or so until they've doubled in size.
- Now press and shape into circles (mine were more oblong) but not to fuss whatever the shape! Your pizza dough is now ready for the topping.
- Pour the jar of passata into a small bowl and add the Italian seasoning along with the sugar.
- Taste to check the seasoning adding a tiny pinch of salt if you think it needs it.
- Spoon a little of the tomato sauce onto each pizza base just before your about to cook.
- Sprinkle over a little Parmesan and top with mozzarella.
- Scatter over a few basil leaves and add more Parmesan.
- Pop into the pizza oven for 30 seconds before turning and returning to the oven for another 30 seconds.
- Repeat; your pizzas should be cooked in 90 to 120 seconds.
- Pop your pizza directly onto the bars on the middle shelf for about 10 minutes before turning.
- Continue to cook for another 10 minutes or until your pizza is piping hot and cooked through.
No comments
Post a Comment
I love to hear from everyone so thanks for taking the time to comment. Please note comments containing links will NOT be published.
Cheers
Jan